When I started this project, I wanted to keep things as simple as possible. My application - this Hugo blog - has been running for a while now, and every time I write a new blog post, I have to run through a process to update it. So far, this has been a manual process. The time has come to look into automating it.
Current vs Desired State
Before we start jumping into “automating all the things”, we have to understand the current process and break it down to smaller sections. To update my blog, I would run following commands:
- hugo new post/13-Automating-Hugo-K8s-Deployment-with-GitLab-CICD.md
- docker image build -t katbrookfield/hugo-site .
- docker image push katbrookfield/hugo-site
- kubectl delete -f deployment.yml
- kubectl apply -f deployment.yml
My content would be also stored in a GitHub repository and I would do all modifications in VS Code.
Let’s break this to three sections: Hugo & Git, Docker, and Kubernetes:
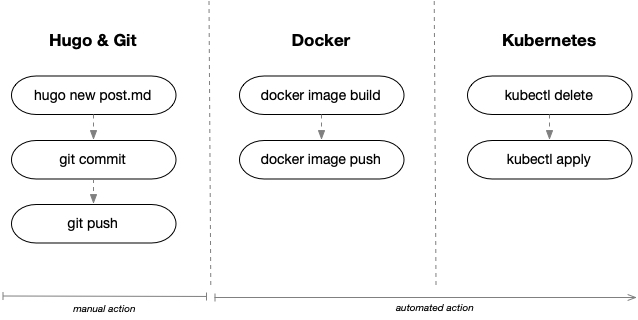
My desired state is to perform Hugo & Git operations manually on my laptop, and anything beyond that should be automated.
Preparation
As the title suggests, I have decided to utilize GitLab CICD to execute my pipeline. There were a few things I had to put in place fist.
GitLab setup
I have signed up for the Free Trial that GitLab offers and created a new Project called My Hugo Site. I wasn’t able to create a mirrored repository from GitHub, because the Free Trial only seems to offer a push function. To move everything to GitLab, I have executed following commands from my hugo-site working directory:
git remote remove origin
git init --initial-branch=main
git remote add origin https://gitlab.com/KatBrookfield/my-hugo-site.git
git add .
git commit -m "Initial commit"
git push -u origin main
GitLab CI/CD Variables
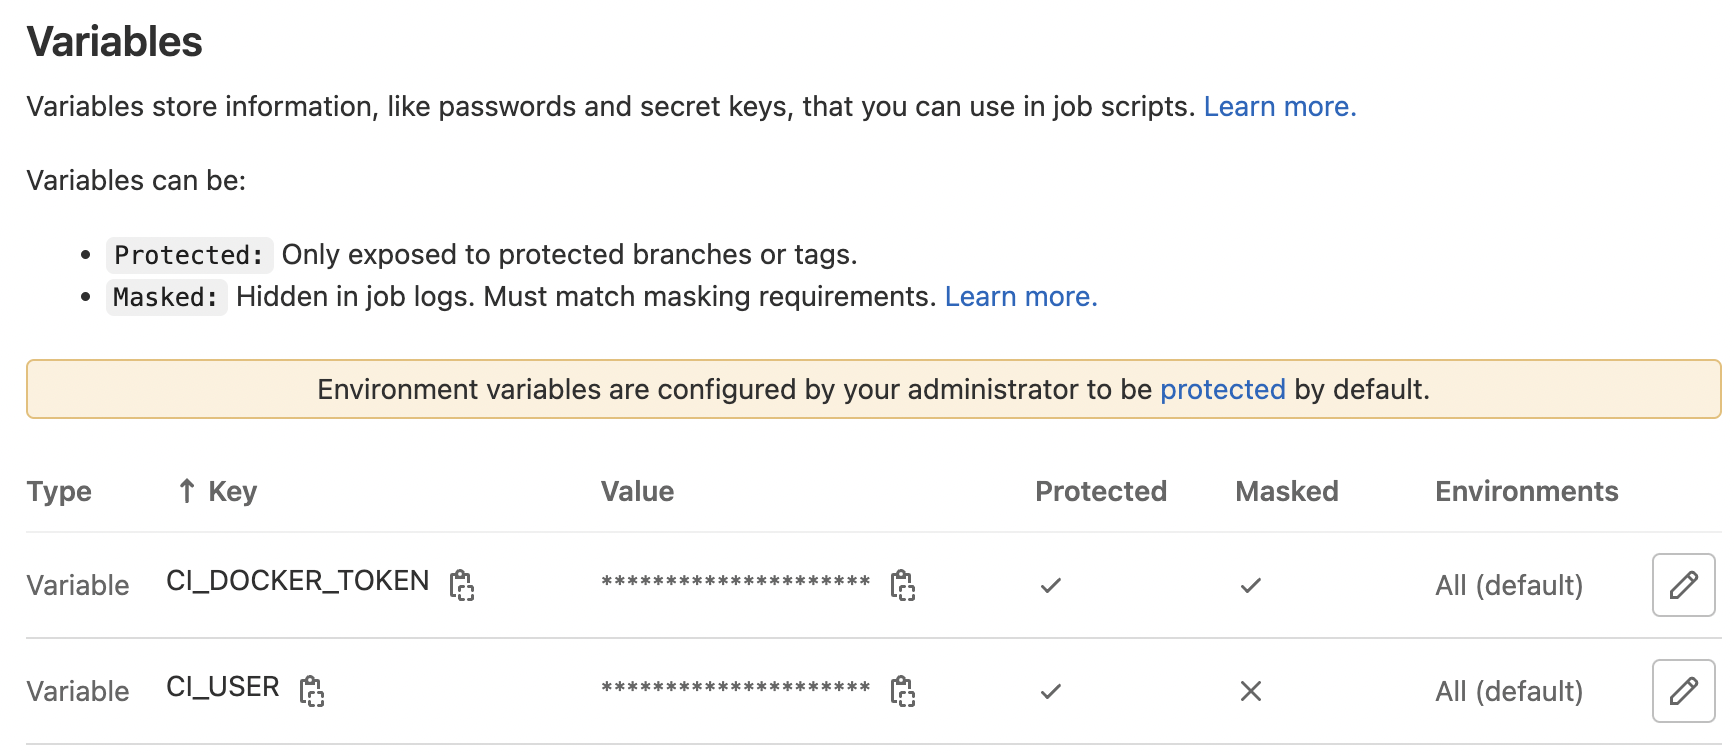
Next thing I had to setup were Variables I planned to use in my CI/CI Pipeline. These are defined in Your Project > Settings > CI/CD > Variables. Part of my pipeline is to build and push a Docker image to my repository, so I had to define my access Variables:
To generate your Docker Access Token, simply login to your Docker hub and go to User Settings > Security > Generate New Access Token
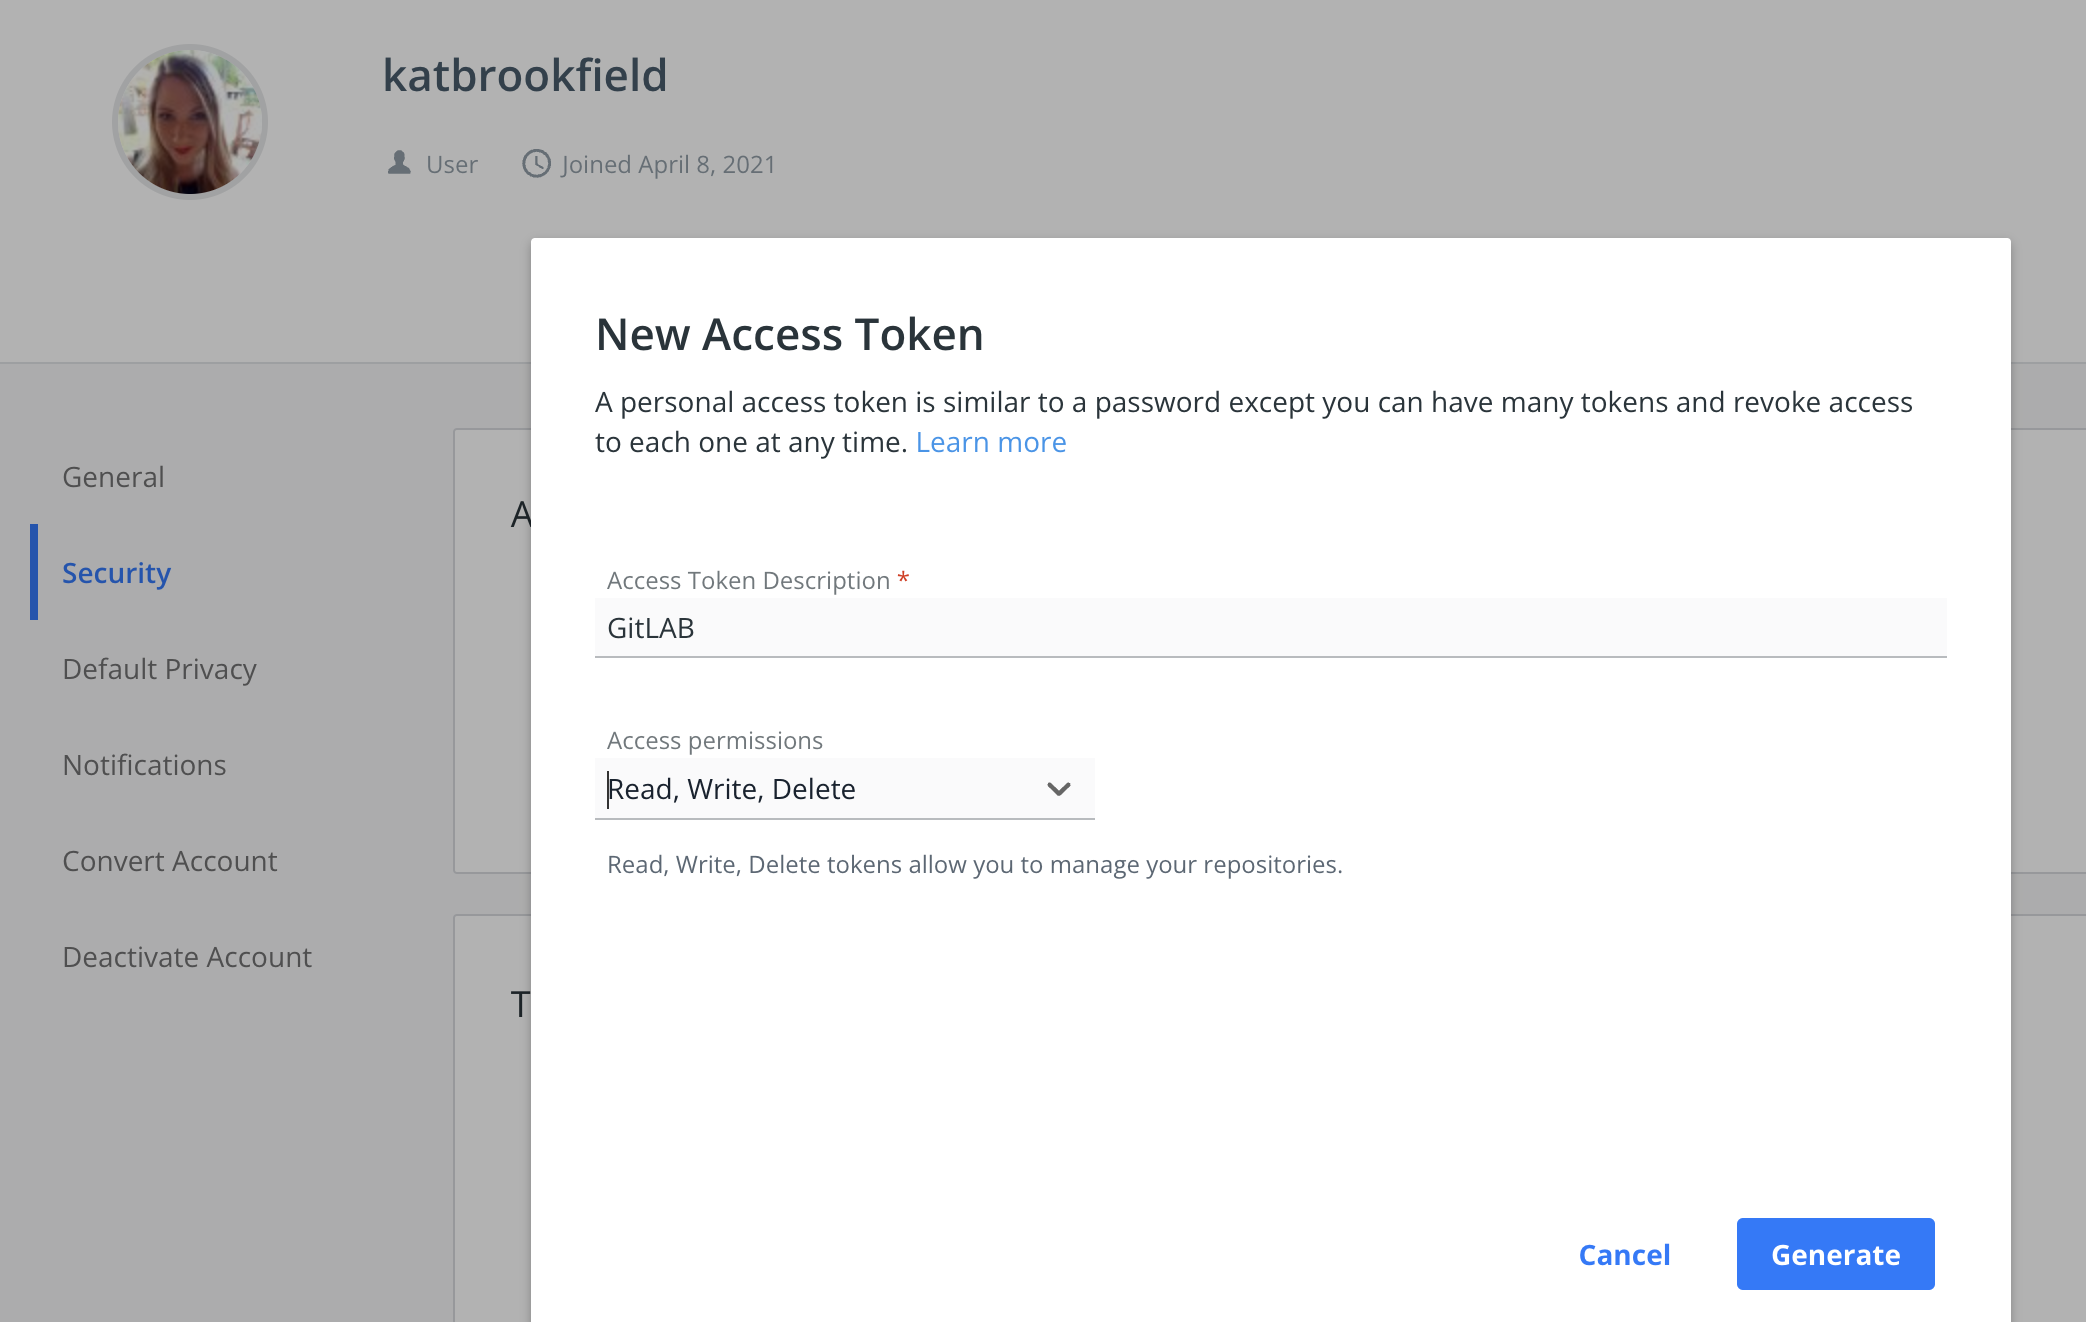
Make sure to copy this value and save it in your Variable.
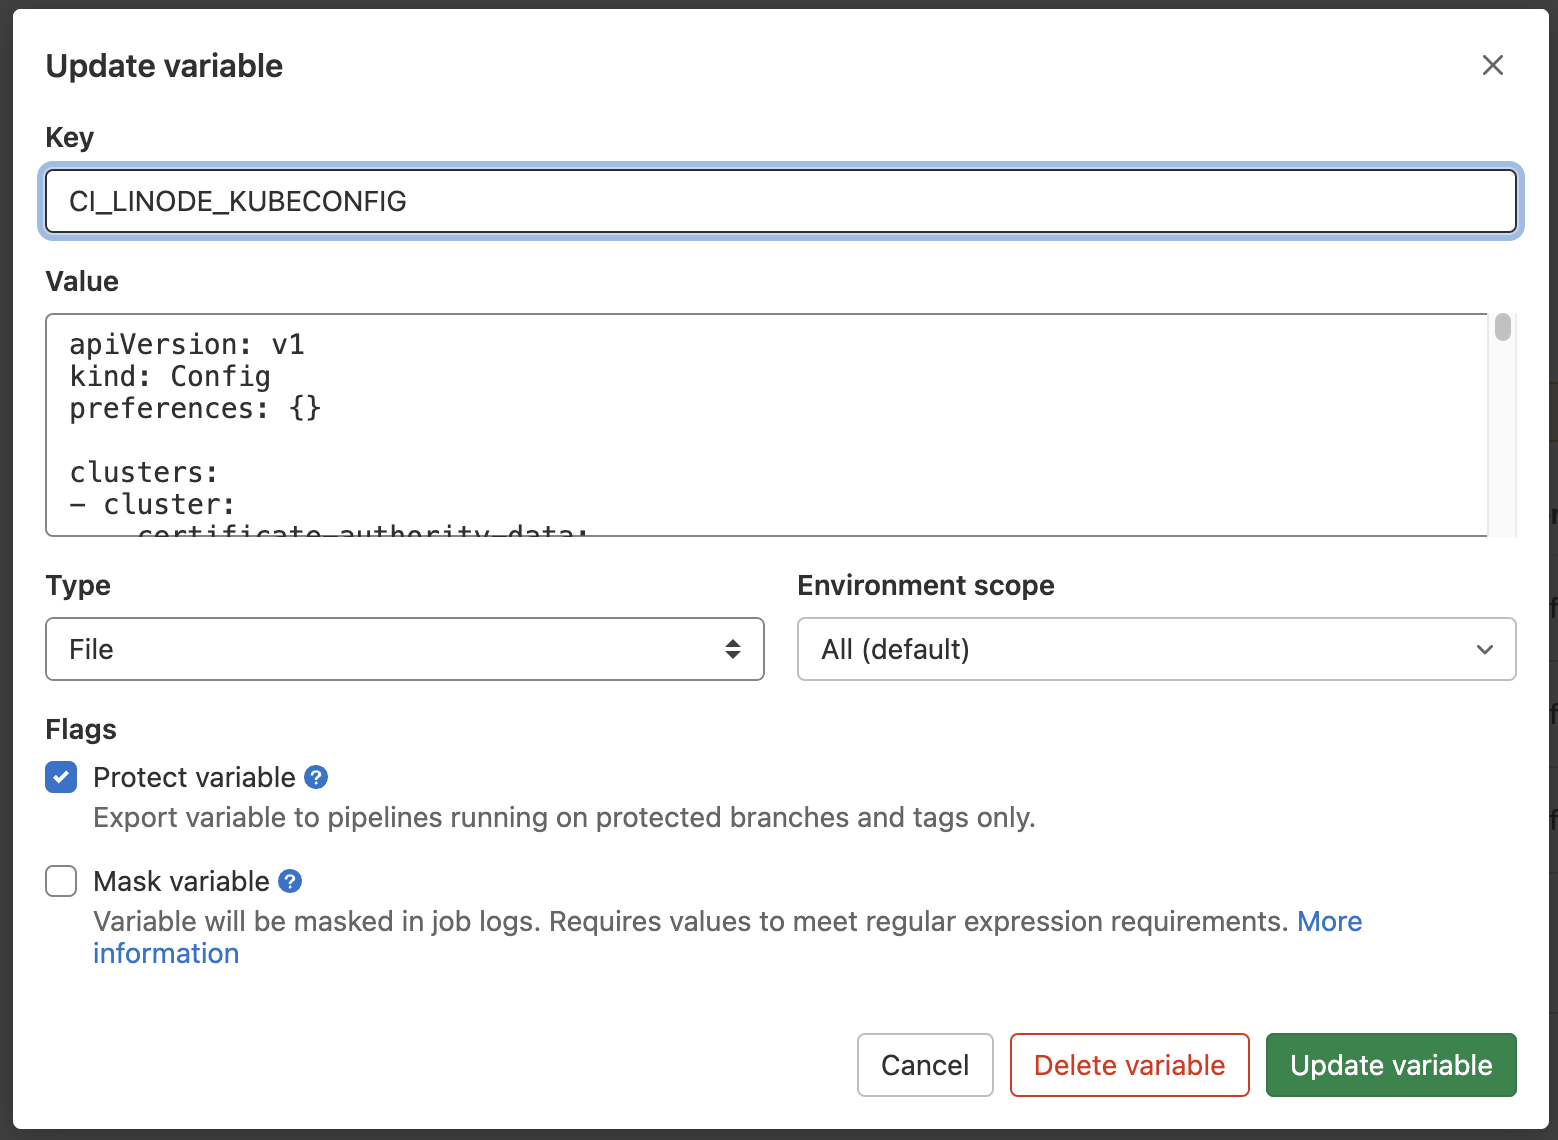
Last Variable we will need is our Kubeconfig. Add a new Variable of Type File and paste your Kubeconfig into it.
Note: Chances are your local kubeconfig file contains multiple clusters and you may not want this to be included. I would recommend to upload a single cluster configuration. If you are running on Linode, you can go to Kubernetes cluster > Download kubeconfig and paste this file as is into your Variable:
GitLab CI/CD Background
You need a GitLab Runner to run jobs in your CI/CD pipeline. You can either choose to use GitLab SaaS Runners, or build and run your own in your own environment. I have decided to go with the SaaS offering, which is descibed as follows in the documentation:
“If you are using GitLab SaaS (GitLab.com), your CI jobs automatically run on runners provided by GitLab. No configuration is required. Your jobs can run on:
Linux runners. Windows runners (Beta). macOS runners (Beta).”
I chose to use Linux runners as they have Docker Engine already installed - All your CI/CD jobs run on n1-standard-1 instances with 3.75GB of RAM, Google COS and the latest Docker Engine installed.
Note: I had to enter my credit card details to validate my account in order to be able to use SaaS Runners even in Free Tier.
Creating GitLab CI Definition
We are finally at the point where we can start creating our pipeline. The first thing we need to do is to create a .gitlab-ci.yml file in our root directory. This file will define our pipeline, stages, and jobs, which contain scripts to be run. A simple file would look something like this:
stages:
  - build
  - test
  - deploy

build-job:
  stage: build
  script:
    - echo "This job builds the app"

test-job:
  stage: test
  script:
    - echo "This job tests the app was built correctly"

deploy-job:
  stage: test
  script:
    - echo "This job deploys the app"
Multiple jobs in a stage can run in parallel, and only if they succeed, the pipeline moves to the next stage.
Going back to the pipeline we defined in the beginning, I want to split mine into two stages; first stage will build my Docker image, and second stage will deploy it to my Kubernetes cluster.
Stage 1: Build
image: docker:latest
services:
  - docker:dind

stages:
  - build

hugo_docker_build:
  stage: build
  script:
    - docker login -u $CI_USER -p $CI_DOCKER_TOKEN
    - docker build -t katbrookfield/hugo-site .
    - docker push katbrookfield/hugo-site
I am using the latest version of Docker image to run these jobs on, as well as the Docker in Docker service. I first login to my Docker hub using my predifined User Variable and Personal Access Token. Once logged in, I build a new image from my current directory, tag it, and push it to my Docker repository.
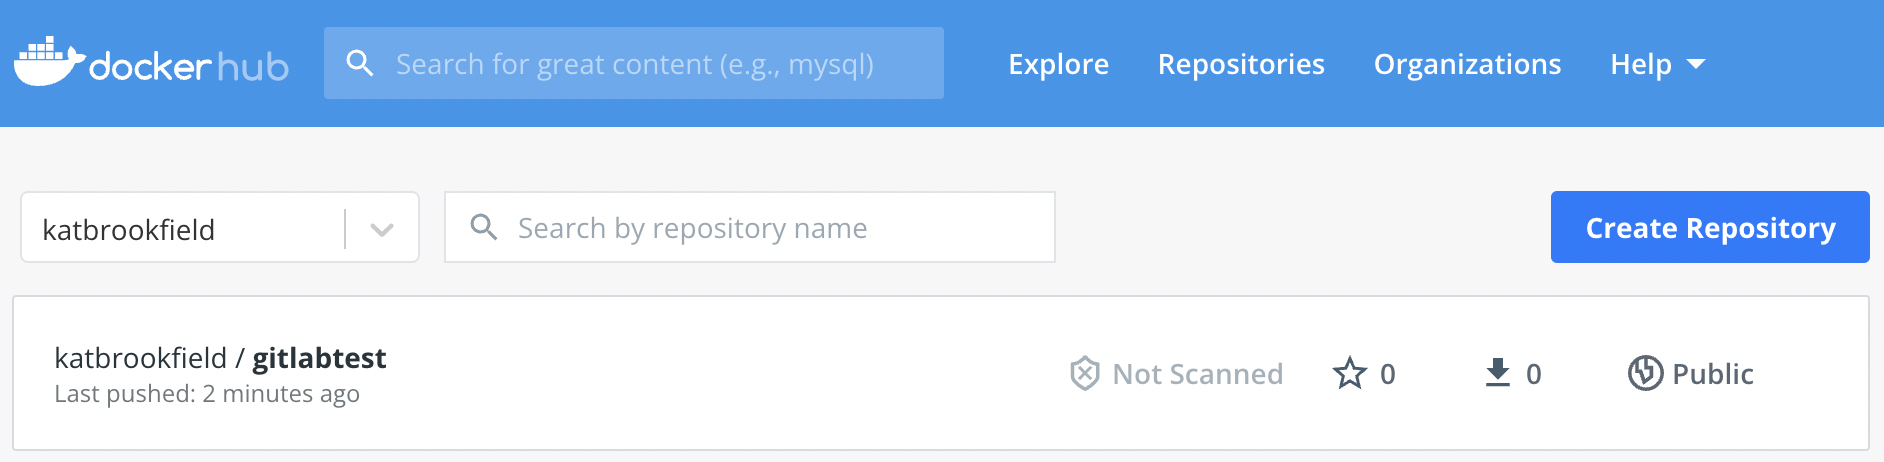
To test this stage, I have run this with a test image first and verified that it was successfully pushed to my repo:
Stage 2: Deploy
hugo_k8s_deploy:
  stage: deploy
  image: ubuntu
  script:
    - apt-get update
    - apt-get install -y apt-transport-https ca-certificates curl
    - curl -fsSLo /usr/share/keyrings/kubernetes-archive-keyring.gpg https://packages.cloud.google.com/apt/doc/apt-key.gpg
    - echo "deb [signed-by=/usr/share/keyrings/kubernetes-archive-keyring.gpg] https://apt.kubernetes.io/ kubernetes-xenial main" | tee /etc/apt/sources.list.d/kubernetes.list
    - apt-get update
    - apt-get install -y kubectl
    - kubectl --kubeconfig $CI_LINODE_KUBECONFIG delete -f deployment.yml
    - kubectl --kubeconfig $CI_LINODE_KUBECONFIG apply -f deployment.yml
In the second stage, I have decided to go with a clean Ubuntu image and install kubectl on top of it. (There may be images with preconfigured kubectl available). I followed the standard process of installing it, as described here https://kubernetes.io/docs/tasks/tools/install-kubectl-linux/
To keep this simple, I decided not to do my kubeconfig configuration within the container, but instead I feed it my kubeconfig file which I have stored in my GitLab CI/CD variables. I also do not use versioning (because YOLO) and I want the latest version to be rolled out instantly, so I just recreate my deployment. I would not recommend to do this in production :)
Final Configuration
image: docker:latest
services:
  - docker:dind

stages:
  - build
  - deploy

hugo_docker_build:
  stage: build
  script:
    - docker login -u $CI_USER -p $CI_DOCKER_TOKEN
    - docker build -t katbrookfield/hugo-site .
    - docker push katbrookfield/hugo-site

hugo_k8s_deploy:
  stage: deploy
  image: ubuntu
  script:
    - apt-get update
    - apt-get install -y apt-transport-https ca-certificates curl
    - curl -fsSLo /usr/share/keyrings/kubernetes-archive-keyring.gpg https://packages.cloud.google.com/apt/doc/apt-key.gpg
    - echo "deb [signed-by=/usr/share/keyrings/kubernetes-archive-keyring.gpg] https://apt.kubernetes.io/ kubernetes-xenial main" | tee /etc/apt/sources.list.d/kubernetes.list
    - apt-get update
    - apt-get install -y kubectl
    - kubectl --kubeconfig $CI_LINODE_KUBECONFIG delete -f deployment.yml
    - kubectl --kubeconfig $CI_LINODE_KUBECONFIG apply -f deployment.yml
This is my final pipeline that will be executed as soon as I push changes to my repository.
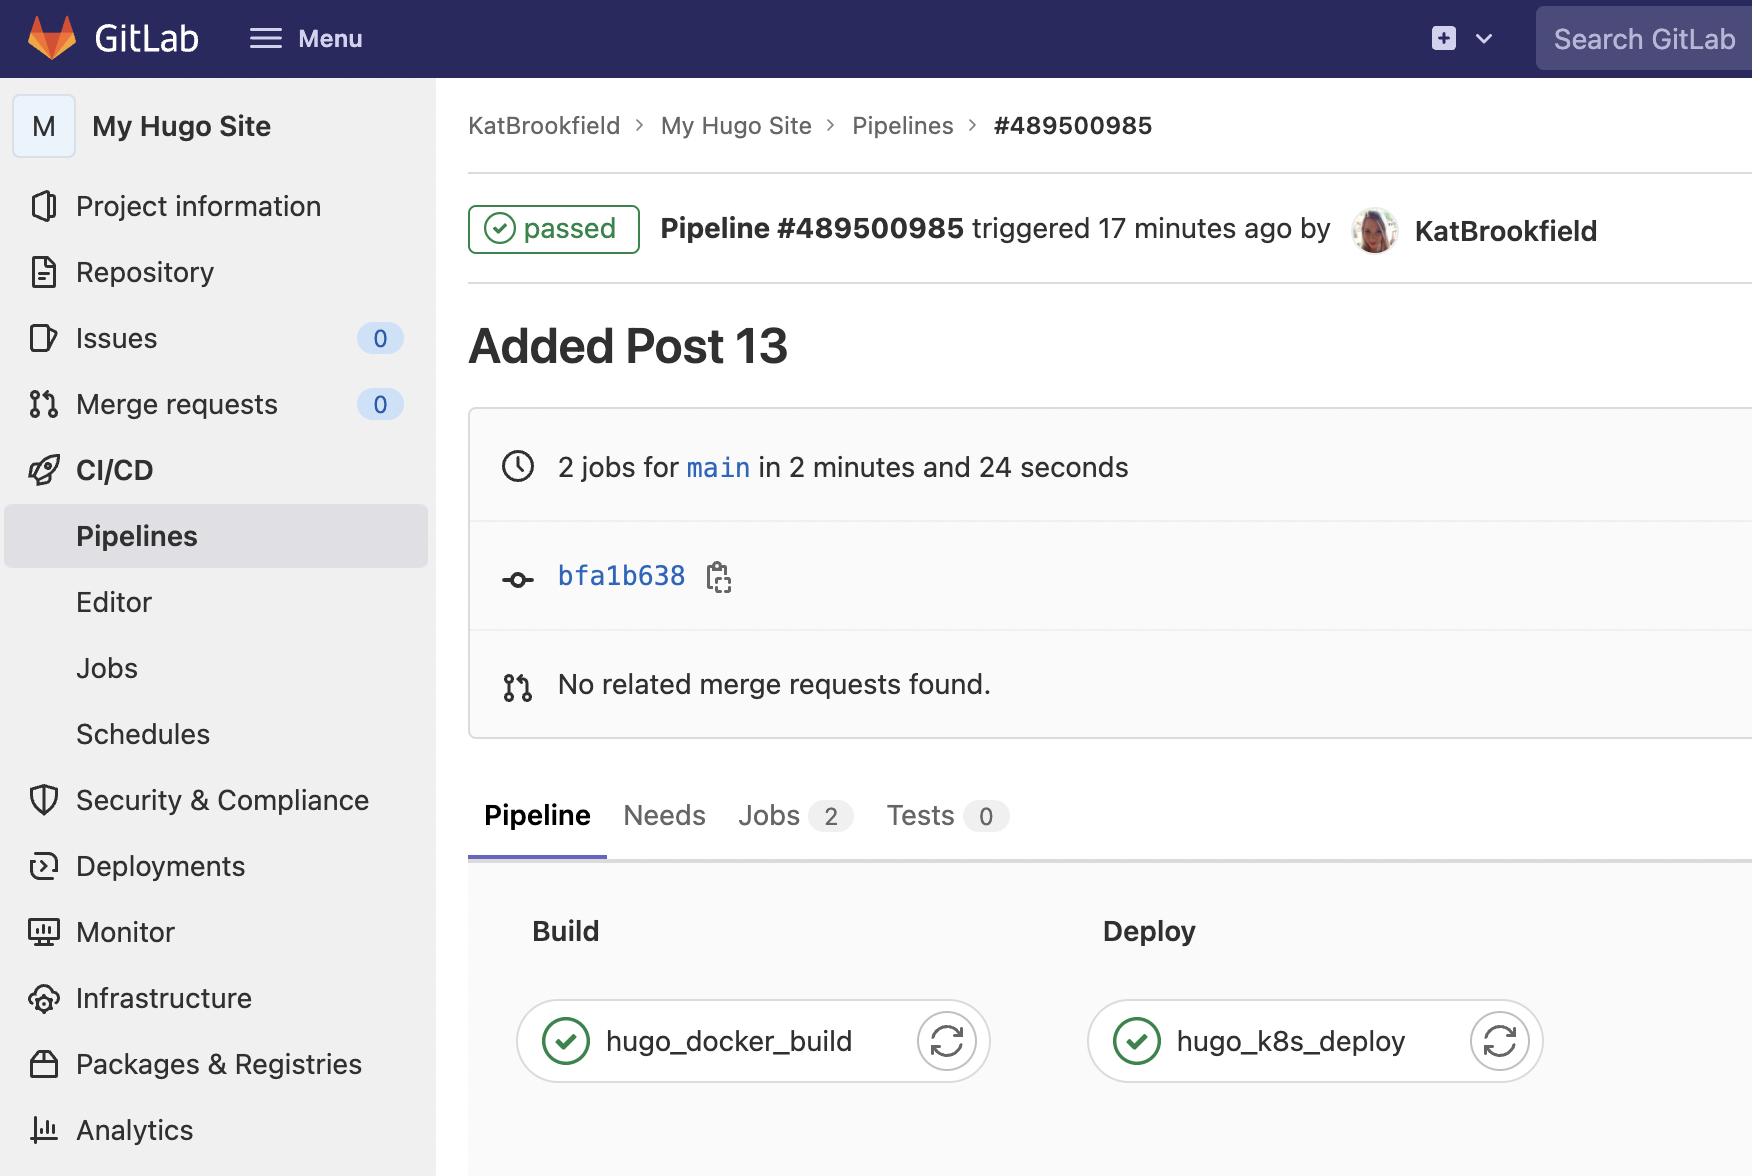
If you are reading this, it means it worked. See you next time!